
How to configure room join mode
Creation date: 2/14/2024 4:19 PM
Updated: 2/15/2024 10:17 AM
This article will discuss how to configure room join mode. Room join mode is an automated feature that is used in situations where 2 or more rooms are separated by a dividing wall which can be removed to create a dynamically resizable space. An example of this might be a conference room where a dividing wall can be removed to create a larger space for larger events.
Within the zencontrol platform, room join can be configured via the use of the relationship feature found under Grid View -> Assignment & Logic -> Relationship.
For the Relationship feature to work, either an absolute input or a system variable must be available. In this example though, room join will be demonstrated with an absolute input via a zc-switch. For information on how to convert a zc-switch over to the absolute input mode, please see the following article - changing operation mode on zc-switch
Due to there being 2 rooms in this example (Room A and Room B), 2 relationship maps will need to be made. 1 for when Room A needs to control Room B, and 1 for when Room B needs to control Room A.
To begin, go to Grid View -> Assignment & Logic -> Relationship, and follow the steps below:
1. Click the Control system drop down menu
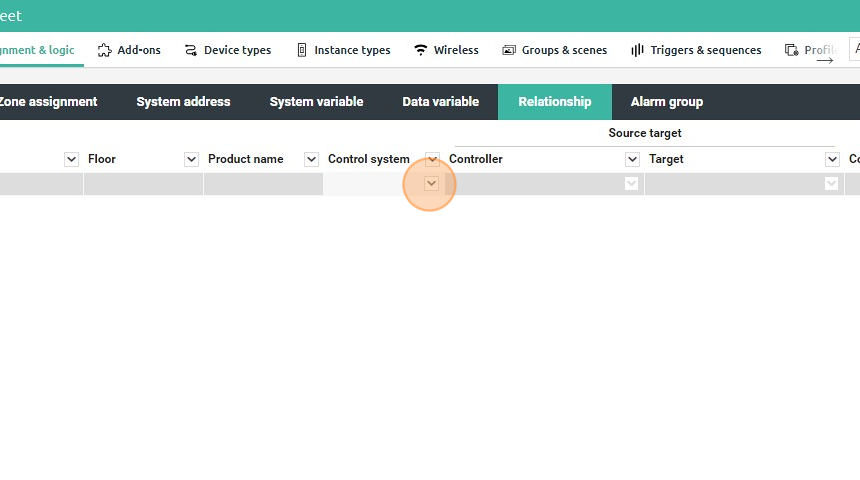
2. Click the controller to store this relationship

3. Click the Controller drop down menu

4. Select the controller which contains your "Room A" target

5. Click the Target drop down menu

6. Select your "Room A" target

7. Click the Condition drop down menu
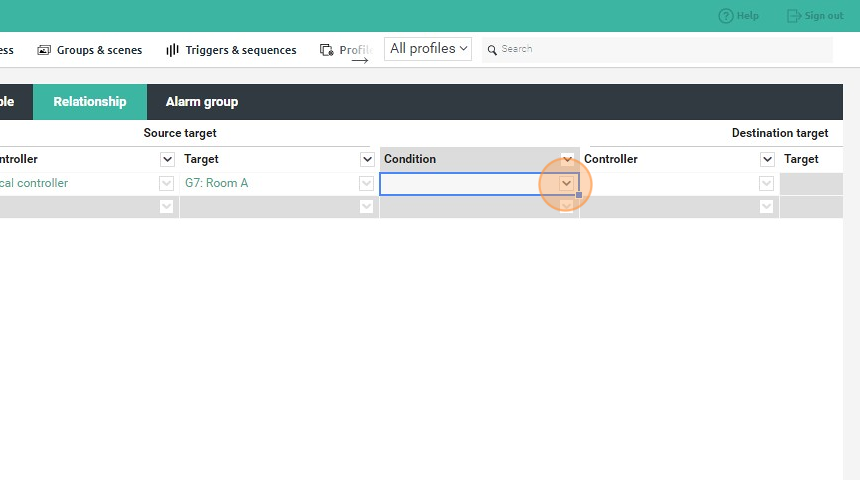
8. Select your absolute input, in this case "Room Divider Reed Switch"

9. Click the Controller drop down menu to the right of Condition

10. Select the controller which contains your "Room B" target

11. Click the Target drop down menu

12. Select your "Room B" target

13. Repeat this process again, this time configuring Room B to control Room A

This concludes how to implement a room join configuration and is now ready for testing